
A Homeowner’s Guide to Air Conditioning Preventive Maintenance
By BERT HOLOPAW
Bert spent 25 years working as a home-improvement and residential construction contractor in central Florida.
By JDCooling (Own work) [CC BY-SA 4.0 (https://creativecommons.org/licenses/by-sa/4.0)], via Wikimedia Commons
7/02/2021
DIY Annual Preventative AC Maintenance
We all receive those advertisements in the mail for an annual air-conditioning system preventative maintenance checkup. Most licensed contractors send a qualified technician to your house to perform basic preventive maintenance service and inspection. This type of service increases the air-conditioning system’s life expectancy and improves its energy efficiency.
Unfortunately, a few companies use these flyers as simply a way to get through your door with their “29-point checklist” and then look for a way to fix something. Many homeowners choose to avoid this hassle and give their own system its yearly preventative maintenance service.
Annual AC Maintenance Parts Considerations
- Furnace Filter
- Electronic AC Filter
- Drain Line
- Evaporator Coil
- Furnace Blower
- Condensing Unit
https://www.flickr.com/photos/collinanderson/
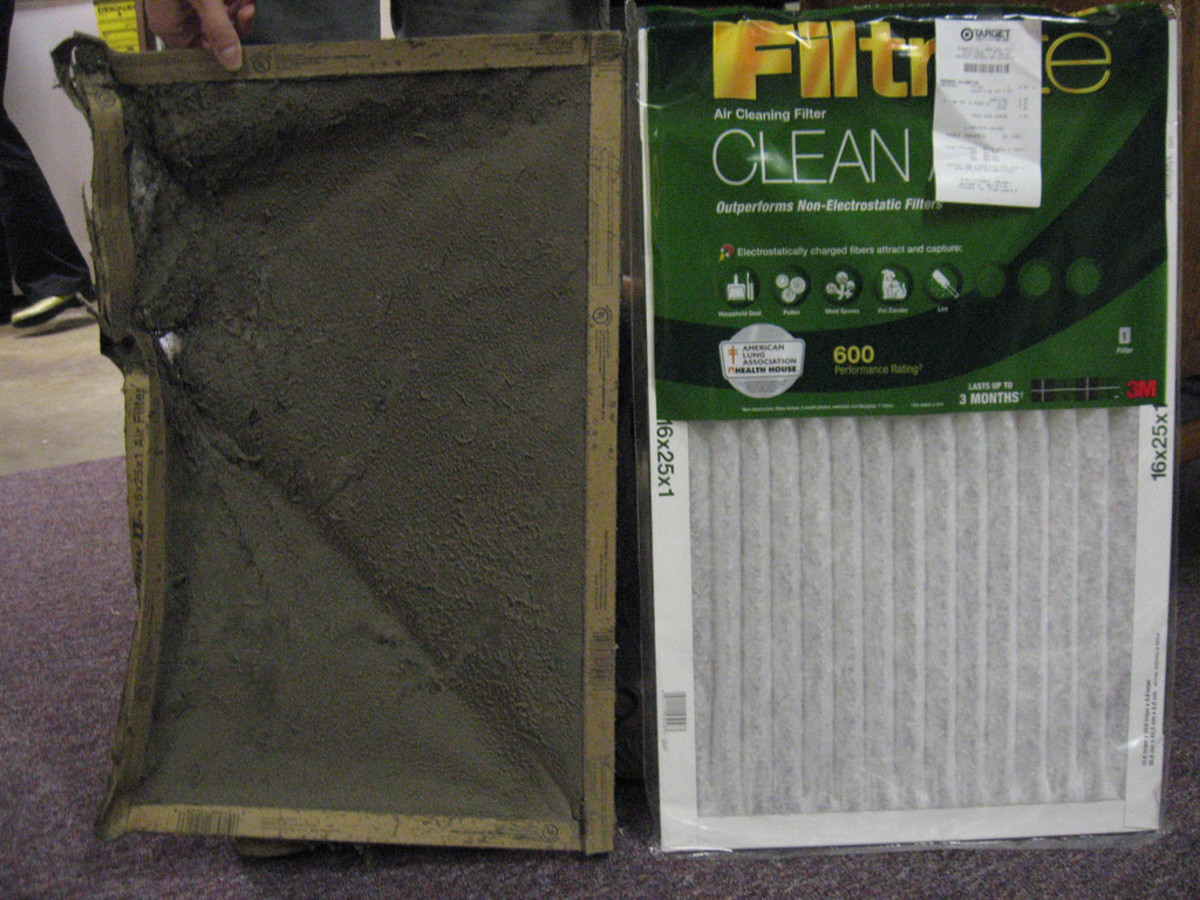
Changing the Furnace Filter
Regularly changing the furnace filter increases the system’s energy efficiency and lessens the workload on the system’s components. A dirty filter makes the fan work harder, and in extreme cases, the reduced airflow across the evaporator coil freezes the condensation, forming an ice block that cuts the airflow even further. A missing, improperly sized, damaged or poor-quality filter lets dust pass; where it then accumulates on the evaporator coil and blower wheel.
Manufacturers offer several different grades of filters and rate them on a MERV scale. Filters rated with a higher MERV, which stands for Minimum Efficiency Reporting Value, collect a larger percentage of the air-borne contaminants passing through the unit. Many homeowners choose filters with a MERV rating between five and eight.
How to Change the Furnace Filter
- Turn off the thermostat: Set the function switch to the “OFF” position. This prevents the system from turning on while changing the filter.
- Remove old filter: Open filter door, usually located either at the furnace or in a return grill. Note the direction of the airflow arrow on the filter’s frame. Grip the filter and slide it out. If fibers on the filter snag the unit, push the filter in slightly and adjust the filter, so it avoids the unit’s sharp edge.
- Purchase a new filter: Measure the filter area with a tape measure and write the dimensions on the front of the air handler for future reference. Select a MERV rating that matches your personal requirements. Buy a filter that matches both size and MERV specifications.
- Install the new filter: Remove the filter from its plastic wrap. Position the airflow arrow in the same direction as previously noted. Slide the filter into place and close the door. Reset the thermostat to its original settings.
https://www.flickr.com/photos/jackiebese/
Electronic Air Conditioning Filters
Electronic air-conditioning filters neutralize airborne contaminants that the system’s disposable filter misses. This upgrade rarely needs repair or maintenance beyond washing the cartridges and pre-filters regularly.
- Turn off the power supply: Turn off the thermostat’s function switch. Disconnect the electronic filter’s power supply plugs.
- Disconnect the unit’s cover: Release the cover’s latches and remove the panel.
- Remove the pre-filter and cartridges: Take note of the position of the components, including the airflow direction indicators. Slide the pre-filter out of the unit, then the cartridges.
- Wash the cartridge and pre-filter: Always follow the manufacturer’s specific instructions, however, normally the instructions call for soaking the cartridge and filter in a tub filled with a mixture of mild dish soap and water, then rinsing them with a garden hose. Let everything dry before continuing.
- Reassemble the unit: Slip the cartridges and pre-filters into place, using the noted airflow indicators as a directional reference. Install the cover. Attach the electrical plugs and turn the system on.
Bert Holopaw
Drain Line Maintenance
When air passes over an air conditioner’s evaporator coil, the coil lowers air temperature and turns the humidity in the air into condensation. The condensation flows down the coil’s fins and gathers in the drip pan, where the water enters the drain line. The slow drip fails to create enough current to flush long drain lines, allowing sludge to form in the constantly wet section. Eventually, the sludge dams the drain line.
Some air conditioning systems utilize an emergency float switch. The switch connects in series with the thermostat’s circuitry. A high water level in the drain pan makes the float switch open its contacts, turning off the air conditioning system.
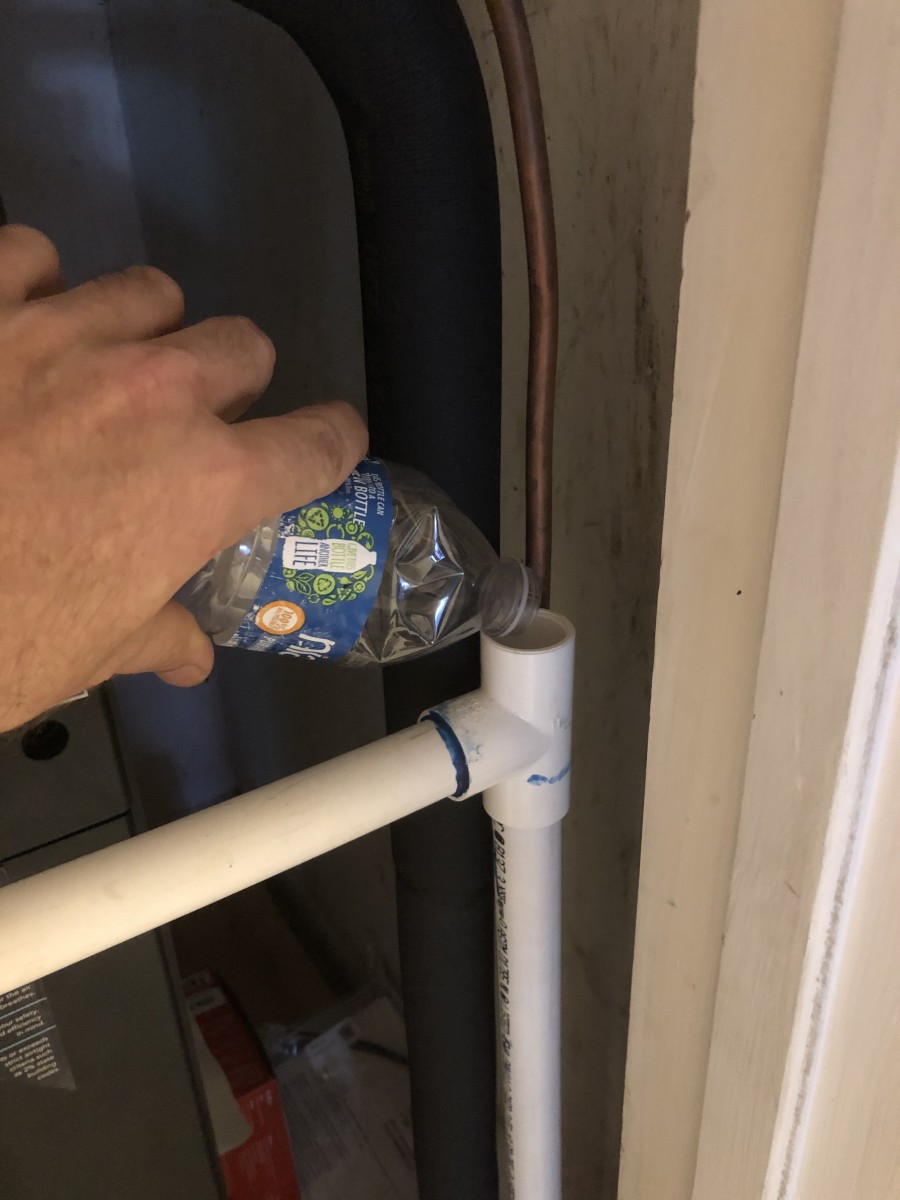
How to Clear and Maintain the Drain Line
- Clear the drain line: Locate the drain line’s termination, often found near the system’s condensing unit. Attach a wet-or-dry vacuum to the drain line. Turn on the vacuum and clear the line of sludge and water.
- Flush the drain: Access the drain system from either a maintenance port in the drain line, the float switch or from inside the coil area. Some installation technicians place a Tee-fitting in the drain line, then install a short piece of pipe with a cap on top. Remove the cap and use the pipe as a maintenance port. Pour hot water into the access point. Continue to flush the drain until the water exiting the drain runs clear.
- Add sludge preventive: Add a product designed specifically for an air-conditioning system’s drain line. Many people choose to place tablets in the evaporator pan, while others pour a liquid into the pan or the drain line service port. Never use bleach, vinegar or any kind of drain cleaner designed to work on hair or grease in an air-conditioning system’s drain line.
https://www.flickr.com/photos/activesteve/
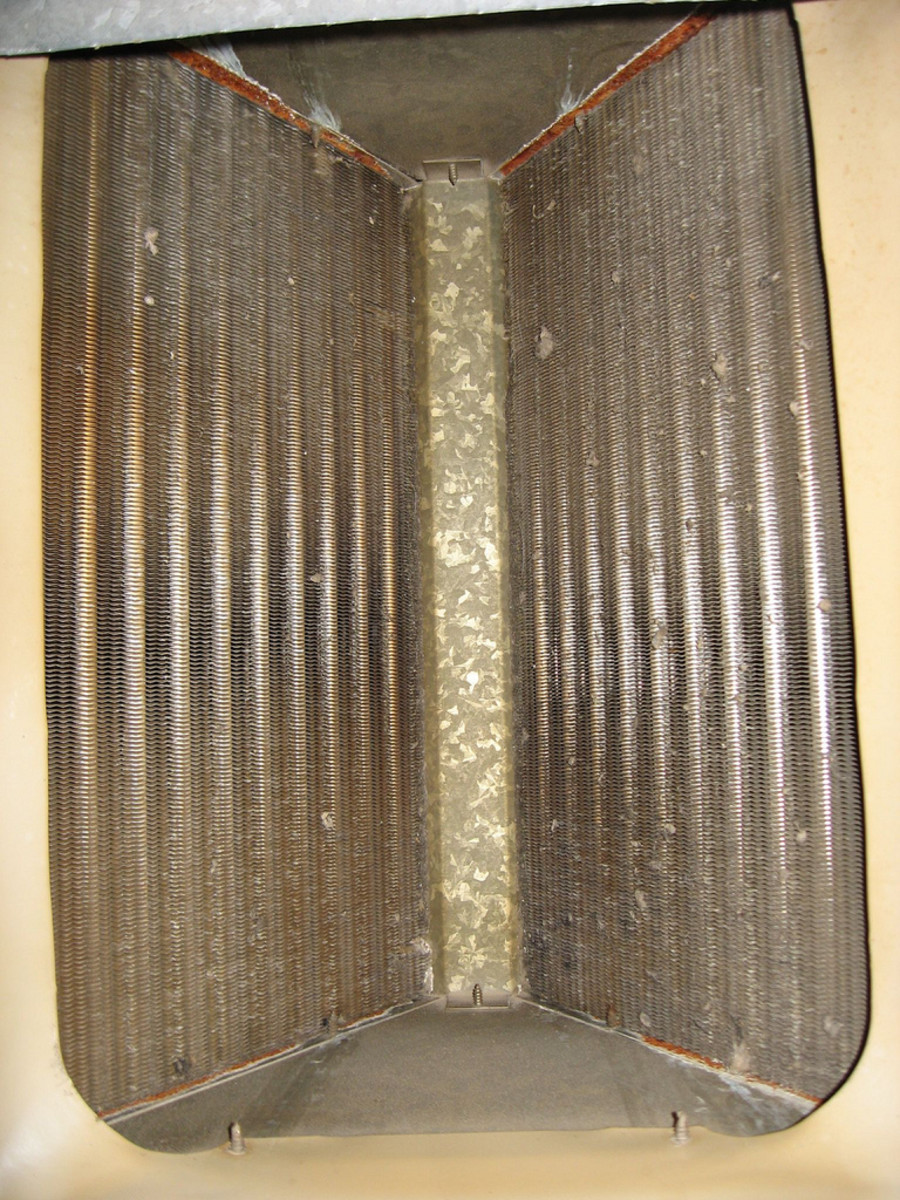
Evaporator Coil Yearly Maintenance Clean
An air-conditioning system’s yearly preventive maintenance checkup should include one of three levels of evaporator coil cleaning: yearly maintenance with a foaming aerosol coil cleaner, an in-place cleaning with a liquid coil cleaner, or when a licensed technician removes the coil from the furnace and gives it a chemical bath.
Homeowners who properly change their furnace filter every month often never need anything more than quick yearly maintenance clean. A coil with moderate buildup on the surface needs the in-place treatment and coils with excessive buildup on the surface and between the fins need a chemical bath.
How to Clean the Evaporator Coil
- Turn off the system: Flip the thermostat’s function switch to the off position. This prevents the fan motor from turning on with the furnace panels open.
- Open the furnace: Remove the furnace access panels, exposing the evaporator coil.
- Clean the drain line: Flush the drain line with hot water. A free-flowing drain line quickly evacuates the debris washed from the coil.
- Apply coil cleaner: Completely cover both sides of the evaporator coil with an aerosol coil cleaner. The cleaner’s foaming action lifts debris from the coil’s surface and carries it to the drain pan.
- Close the furnace: Install the access panels.
- Turn on the system: Flip the thermostat function switch to the on position and turn down the temperature. Run the system for about 15 minutes. The condensation created rinses the remaining cleaner from the coil’s fins.
Evaporator Coil In-Place Cleaning
A liquid coil cleaner removes more debris than an aerosol cleaner, but not as much as a professional bath. As the liquid flows between the coils, it picks up the debris that an aerosol cleaner would miss.
- Turn off the system: Set the thermostat’s function switch to the off position.
- Access the coil: Remove the furnace access panels. Place cleanup rags below the coil.
- Flush the drain: Pour hot water into the drain pan to remove any sludge buildup.
- Mix the liquid coil cleaner: Combine water and coil cleaner in a spray bottle, using the manufacturer’s mixing ratio.
- Spray the coil: Apply the cleaning solution to the top of the coil until it starts to drip from the bottom side.
- Rake the coil fins: Carefully use a fin brush, sometimes called a rake, to remove debris buildup from the coil’s intake side. Start at the top and slowly slide the brush down to the bottom of the coil. Repeat this across the length of the evaporator.
- Apply additional coil cleaner: Respray the coil with the cleaning solution.
- Rinse the coil: Pour clean water across the top of the coil.
- Close the furnace: Install the access panels and turn on the thermostat.
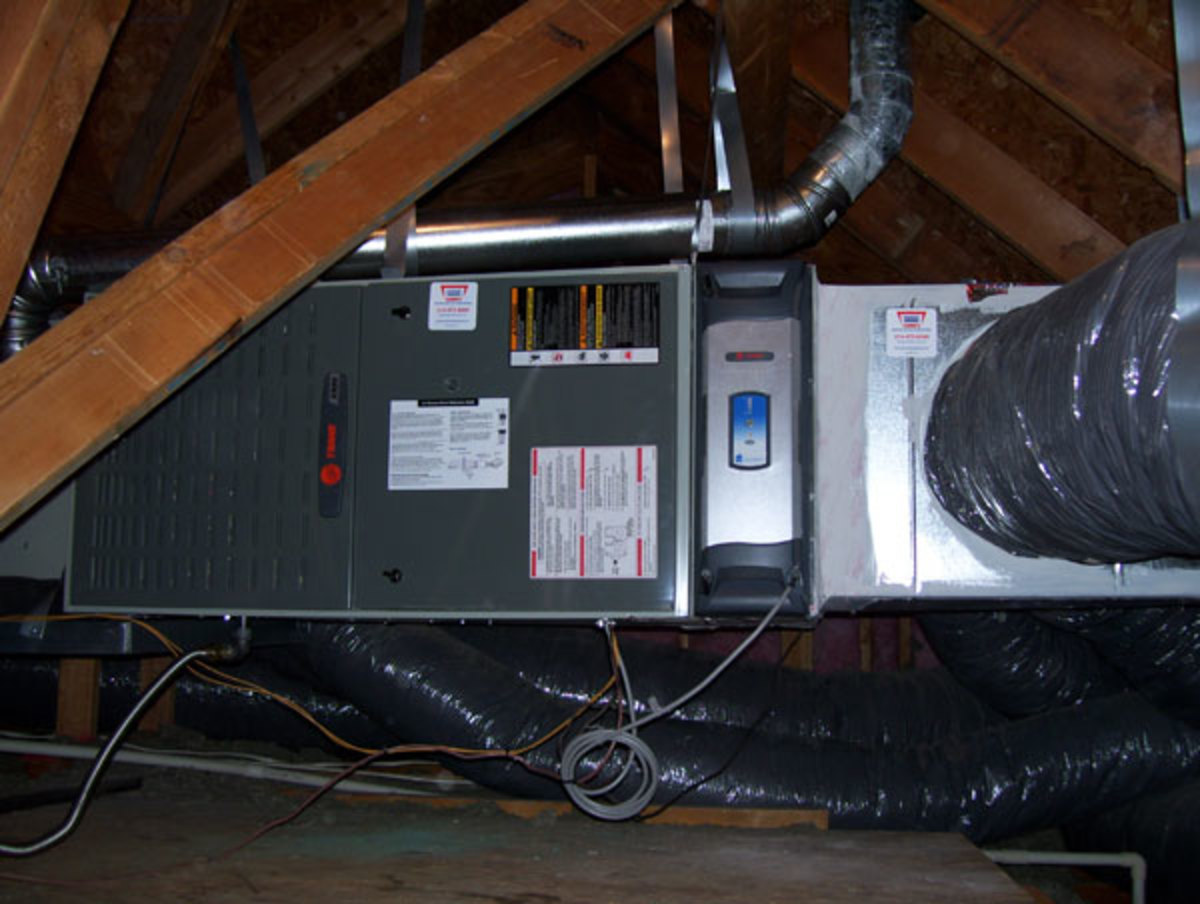
Furnace Blower Maintenance
Most furnace fan motors run many years with little care other than a quick visual inspection of the electrical terminals and verifying the blower wheel spins freely. A few models require a touch of oil with every service. Fan motors with oil service ports require annual maintenance. The lubrication the oil provides keeps the bearings from overheating and limits surface wear.
How to Maintain the Furnace Blower
- Turn off the circuit breaker: Locate and turn off the appropriate circuit breaker. Flip the thermostat’s fan function switch to the “ON” position, verifying the circuit breaker labeling.
- Open the furnace access panel: Remove the screws holding the panels in place.
- Check for oil service ports: Look for a little rubber stopper on top of the fan’s casing.
- Oil the fan: Pull the rubber plug with two fingers and apply light oil. The plug fits tightly and sometimes needs a little persuasion with pliers.
- Insert plug: Position the plug over the hole and apply pressure with a finger.
Bert Holopaw
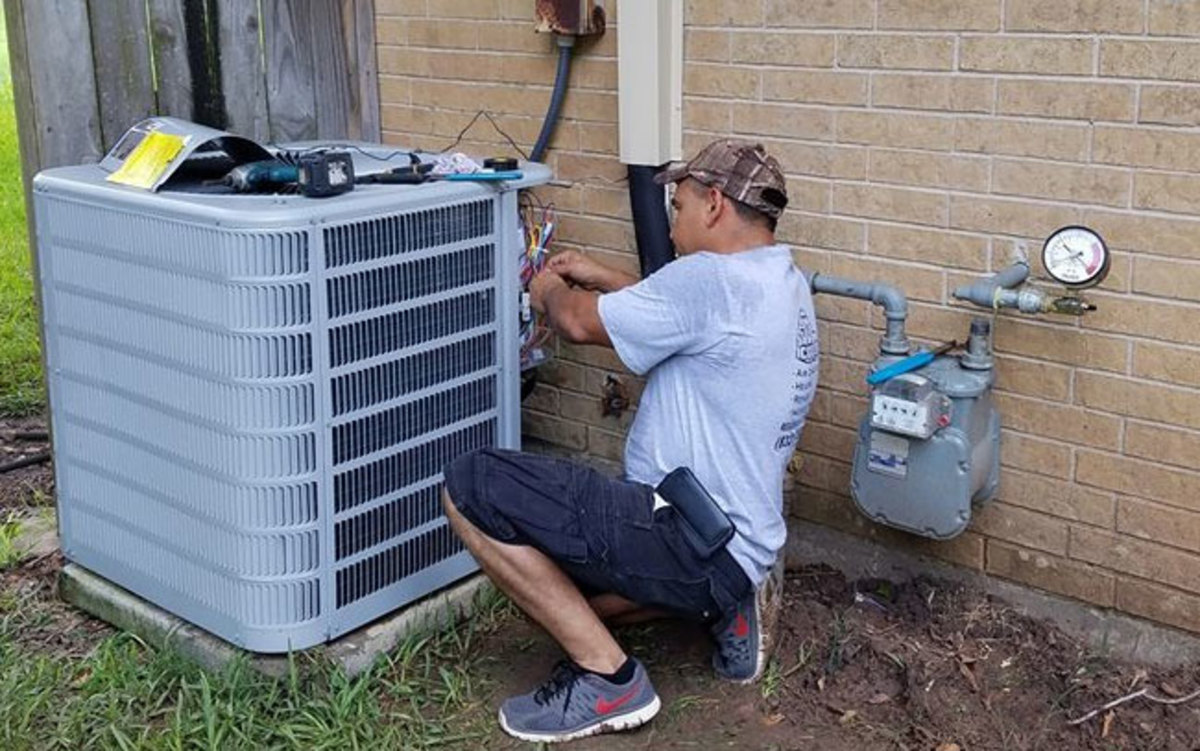
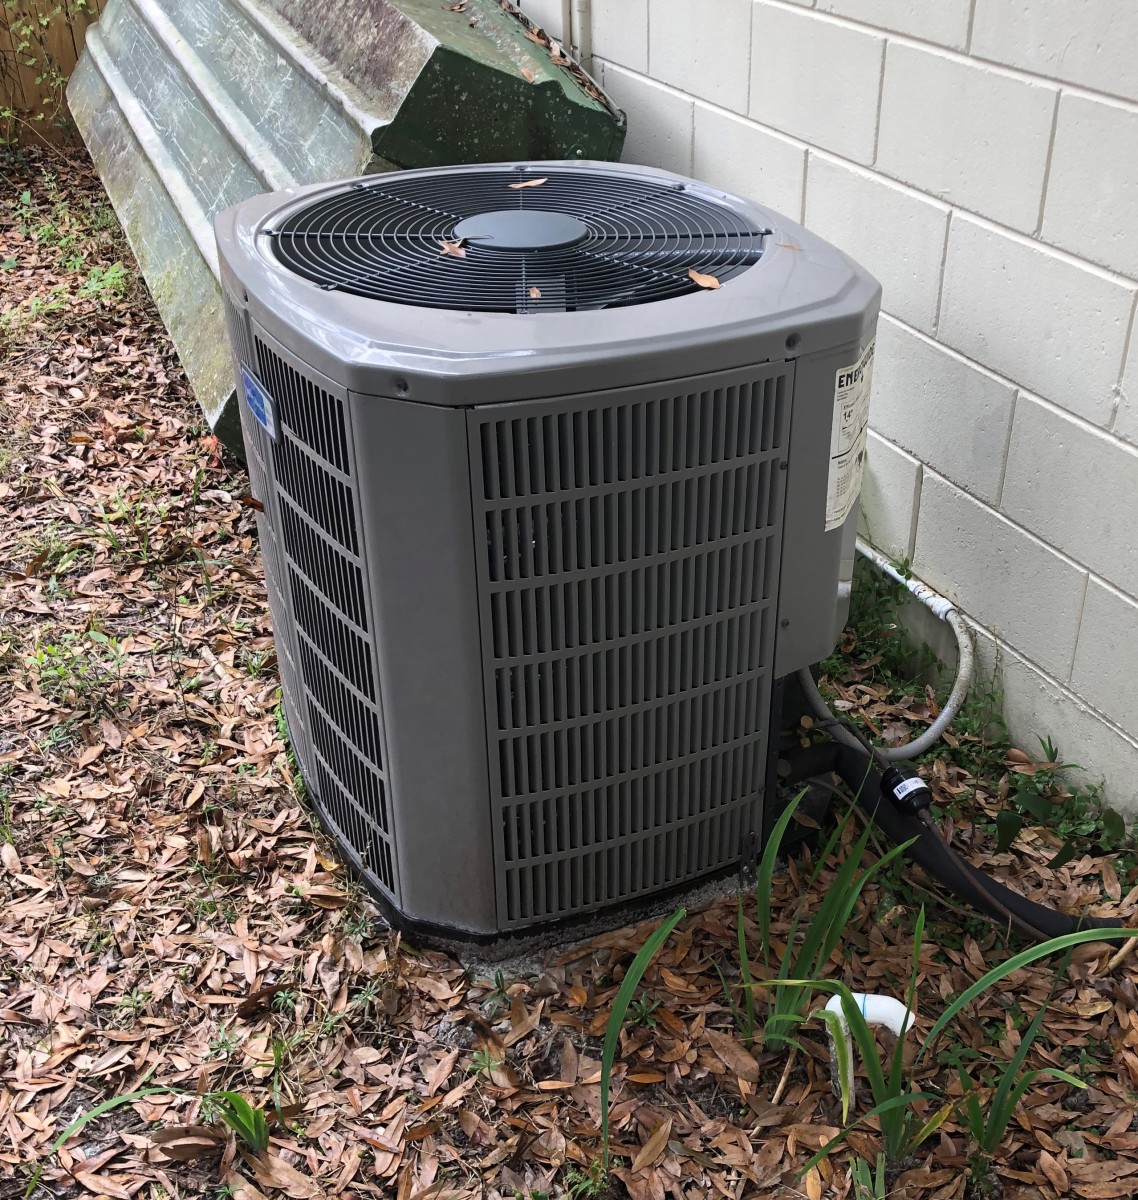
Condensing Unit Maintenance
A basic air-conditioning system’s condensing unit contains a refrigerant compressor, fan, capacitor, high-voltage relay, and condensing coil. A basic heat-pump system’s condensing unit also uses a defrost circuit board and reversing valve.
Both types of systems sometimes have upgraded items such as a hard-start capacitor for the compressor and a timer that prevents the system from restarting too quickly, such as when someone moves the thermostat temperature lever up and down repeatedly.
How to Maintain the Condensing Unit
- Remove any grass growing around the unit: Spray a vegetation killer onto any weeds or grass growing near the unit.
- Clean the condensing coil: Spray the outside of the coil with an aerosol coil cleaner. Rinse the coil with a water hose.
- Inspect the wires: Check the low voltage wires for cracked or missing insulation and replace or repair with electrical tape, as needed.
- Repair pipe insulation: Replace damaged pipe insulation with refrigerant-grade pipe insulation.
This article is accurate and true to the best of the author’s knowledge. Content is for informational or entertainment purposes only and does not substitute for personal counsel or professional advice in business, financial, legal, or technical matters.
Source: https://dengarden.com/home-improvement/A-Homeowners-Guide-to-Air-Conditioning-Preventive-Maintenance